Mineral Photography For Beginners
In this article on mineral photography, beginners will learn how to capture stunning photos of minerals using their smartphones. Simple techniques for proper lighting, background selection, and highlighting crystal forms are explained. Curious readers will also find tips for using professional cameras and image stacking to perfectly capture details.

Intro
The most beautiful mineral specimens on social media such as Facebook, Instagram and the like are often photographed in an unworthy manner. This article explains how to create a good representation of your mineral without much effort or a professional camera using your own smartphone.
First the basics are explained to gain an understanding of the process, then the techniques are presented with supporting examples and at the end there are tips for experimenting and taking things further.
A mineral photo should fulfill these requirements
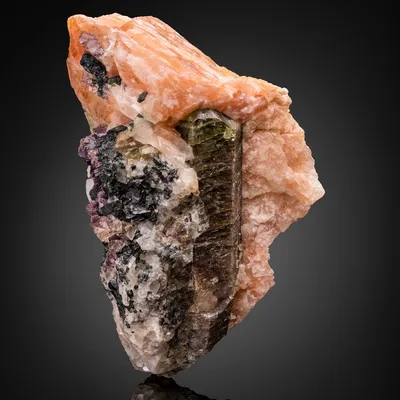
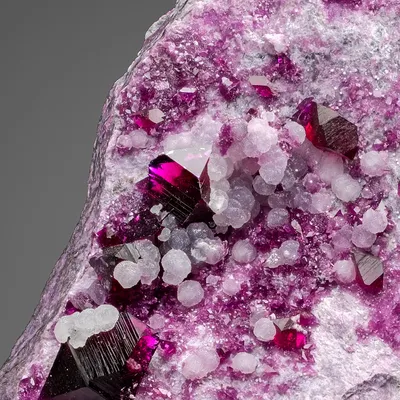
First of all, the tasks of a mineral photo need to be explained, as this area of photography differs from the more familiar ones (e.g. portrait or landscape photography). A photo of a mineral should meet the following criteria: (1) the crystals and crystal shape should be recognizable; (2) the photo should not appear “flat”, i.e. the three-dimensionality of the mineral should be recognizable; (3) the background should not be distracting. In particular, it is important to show these characteristics of the specimen: Clarity (e.g. in the case of rock crystal), shape (e.g. in the case of garnet rhombic dodecahedron), color as well as texture of the individual faces. These criteria apply to amateur photographers as well as professional photographers.
How to take a good mineral photo
To take a good picture of a mineral, you need a few home-made objects.
White or black paper or fabric can be used to create a neutral background that does not distract from the mineral specimen. Optionally, a reflective surface (e.g. black glass or acrylic) can be used for a mirror effect. Since plain glass or clear acrylic does not reflect the mineral sufficiently, the glass or acrylic plate should be black.
To show the natural color of the mineral, it is necessary to choose light with a neutral temperature, i.e. approximately between 5000K and 5500K. Sunlight in cloudy weather or LED lamps with adjustable or appropriate light temperature are suitable for this. When using sunlight, make sure that the light comes from above. This prevents backlighting and the angle of incidence allows the light to be better controlled.
To show the three-dimensional shape of the crystals, the light must be scattered. To do this, you can place or hold a translucent white paper in front of the light source. Depending on how strongly the light is to be scattered, the white paper - a so-called diffuser - can be placed at different distances from the light source.
Reflectors are used to focus the light on a mineral and show its depth and texture. These can easily be made by sticking aluminum foil to cardboard and using both sides of the foil for different effects - the matte side for less light; the shiny side for a direct and stronger reflection of the light. The aluminum bottom of a stacked chip can can also be used, as the surface is smooth and reflective.
Finally, you should use a tripod. Many things are suitable for this. It is important that the smartphone does not move or fall down.
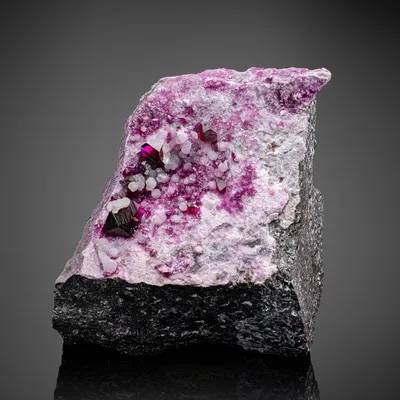
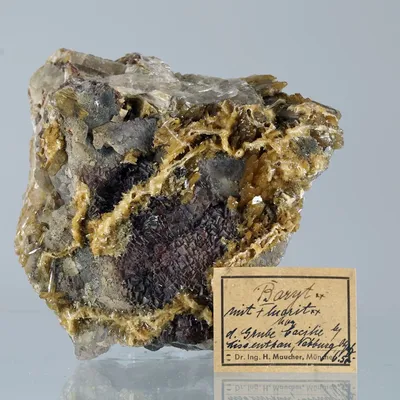
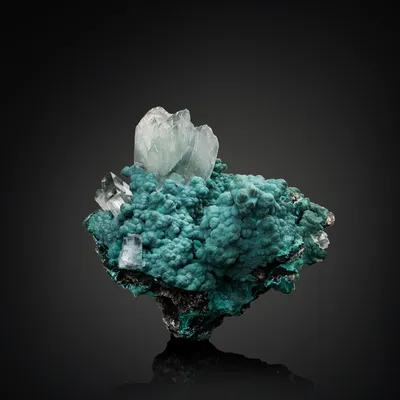
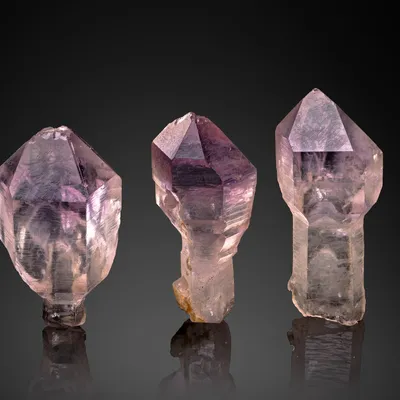
A photo can now be taken with this improvised equipment. First you have to take a close look at the mineral: If it is (slightly) transparent and colored, use a black background to emphasize its perfection. If the mineral is transparent but has some internal fractures, you can make them (almost) disappear with a white background. If the mineral is non-transparent, then a high-contrast background is chosen - if the mineral is dark, a white background and if the mineral is lighter, a black background. The same applies to translucent minerals. These should also be illuminated from behind to enhance their color and show that they are translucent.
Once you have set up the mineral, you have to illuminate the surfaces and matrix in such a way that the texture becomes recognizable. Not only texture, but also the shape of the crystal is relevant. Reflectors, which are attached to a piece of putty and bound accordingly, are suitable for this purpose. To show the above-mentioned qualities effectively, illuminate the surfaces alternately in a kind of checkerboard pattern. In the case of clear minerals, the middle surface - the one facing the camera - is always left unexposed to show the special transparency. The matt side of the aluminum foil is particularly suitable here, as it is not as reflective and is therefore better suited to exposing the crystal surfaces. The shiny side reflects light very strongly and is suitable for general illumination (e.g. of the matrix) from a greater distance. If you use a lot of spotlights, you can use white paper as a diffuser, as the paper can focus the individual points of light.
A good photo should look like this: Mineral in focus and takes up about two thirds of the entire image. The background should be high-contrast and subtle.
Additional techniques
After mounting the smartphone on a tripod, focus manually on the mineral by tapping and holding on an area.This makes it easier to see where the mineral is in focus.
Tips when using a camera
If you already own a camera but don't know exactly how to take mineral photos that are worth seeing, you will hopefully find some useful tips below.
In addition to the camera, a suitable lens is essential. Macro lenses are best suited for photographing minerals (e.g. a Fujinon XF 60 mm for the Fuji XT-20). A general rule to follow when choosing a lens is: the smaller the object to be photographed, the longer the lens should be. If you don't have access to macro lenses, you can also use macro rings. These can be stacked in front of an existing lens.


